

Studio-Video
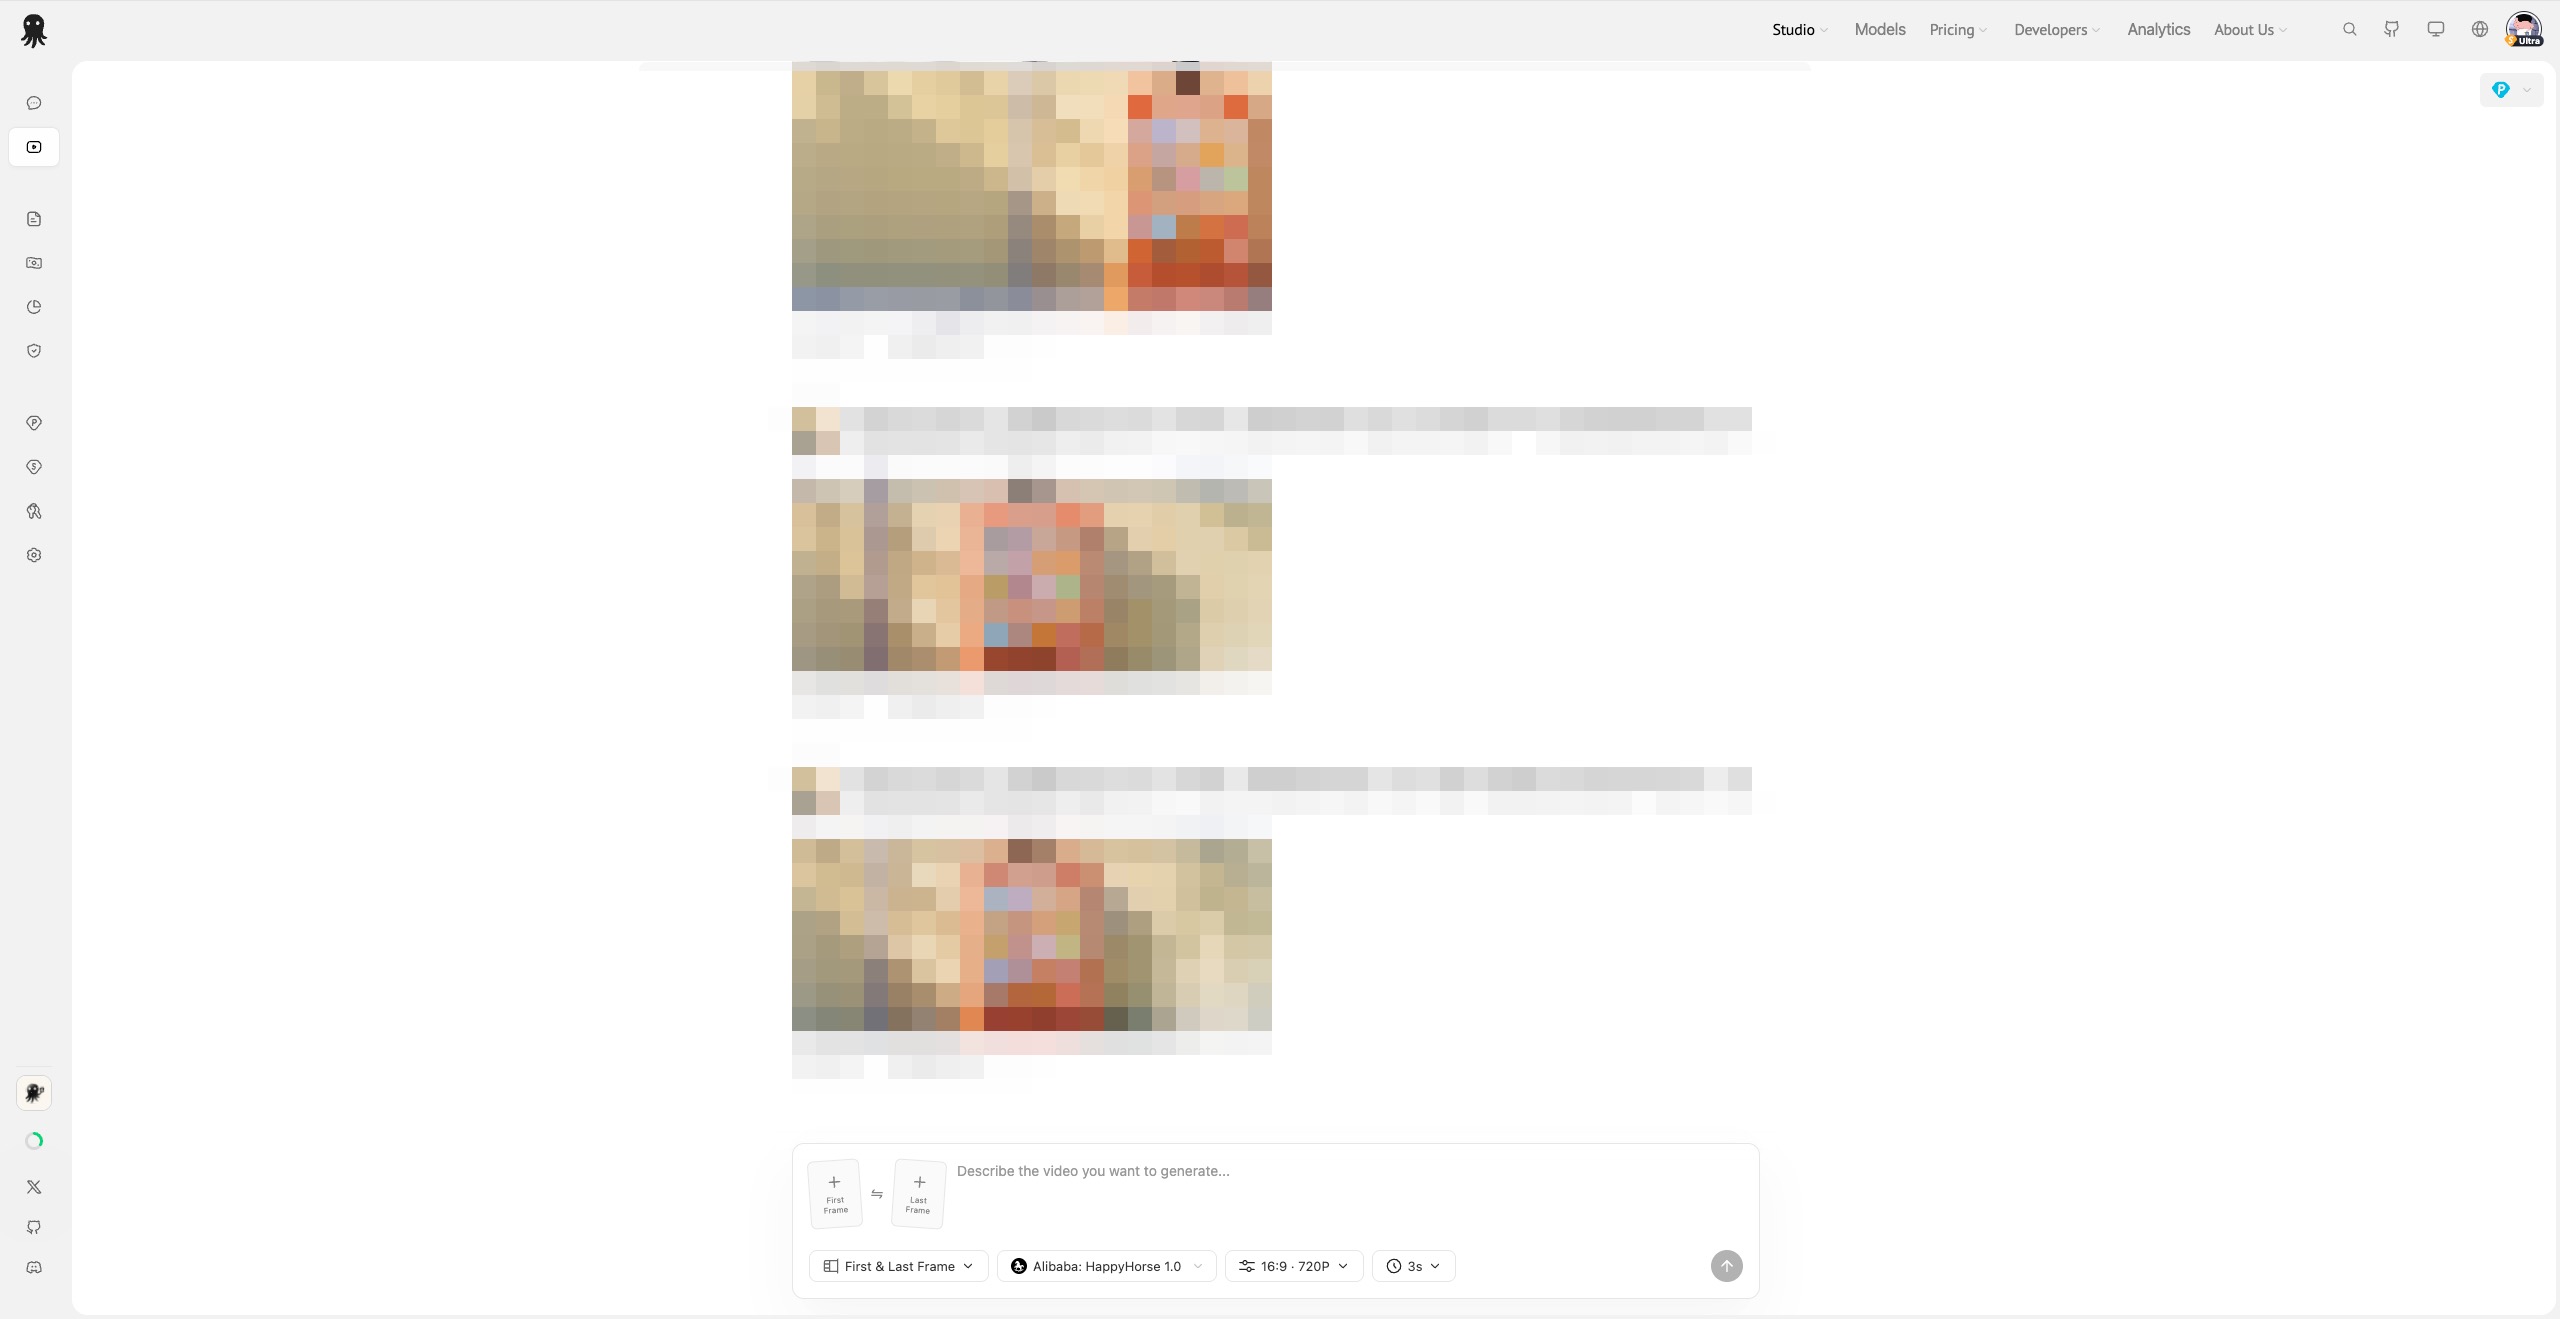
Studio-Video is ZenMux's video generation workspace. It supports reference image generation, first & last frame generation, model-specific parameter configuration, task history, result preview and download, as well as both subscription and pay-as-you-go billing modes.
Different video models support different generation modes, aspect ratios, resolutions, durations, and audio output capabilities — the interface automatically enables or disables options based on the currently selected model.
Quick Start
- Visit Studio-Video
- Switch between Subscription or Pay As You Go as needed
- Select a video model
- Choose a generation mode: Reference Image or First & Last Frame
- Upload reference images, a first frame, or a last frame as needed
- Enter a video prompt
- Configure aspect ratio, resolution, duration, and audio
- Press
Enteror click the send button to start generation - Track generation progress in the task card; once complete, click to preview or download the video
When entering Studio-Video from a model detail page, the selected model is automatically applied. You can also specify a model via the model parameter in the URL.
Interface Layout
Studio-Video consists of three main areas:
| Area | Description |
|---|---|
| Top billing entry | Switch between subscription and pay-as-you-go modes |
| Task area | Displays generation history, task status, result videos, and task actions |
| Input area | Select mode, model, upload assets, enter prompts, configure generation parameters, and submit tasks |
The task area automatically scrolls to the latest task. Historical tasks are grouped by time — scroll up to load older records.
Billing Mode
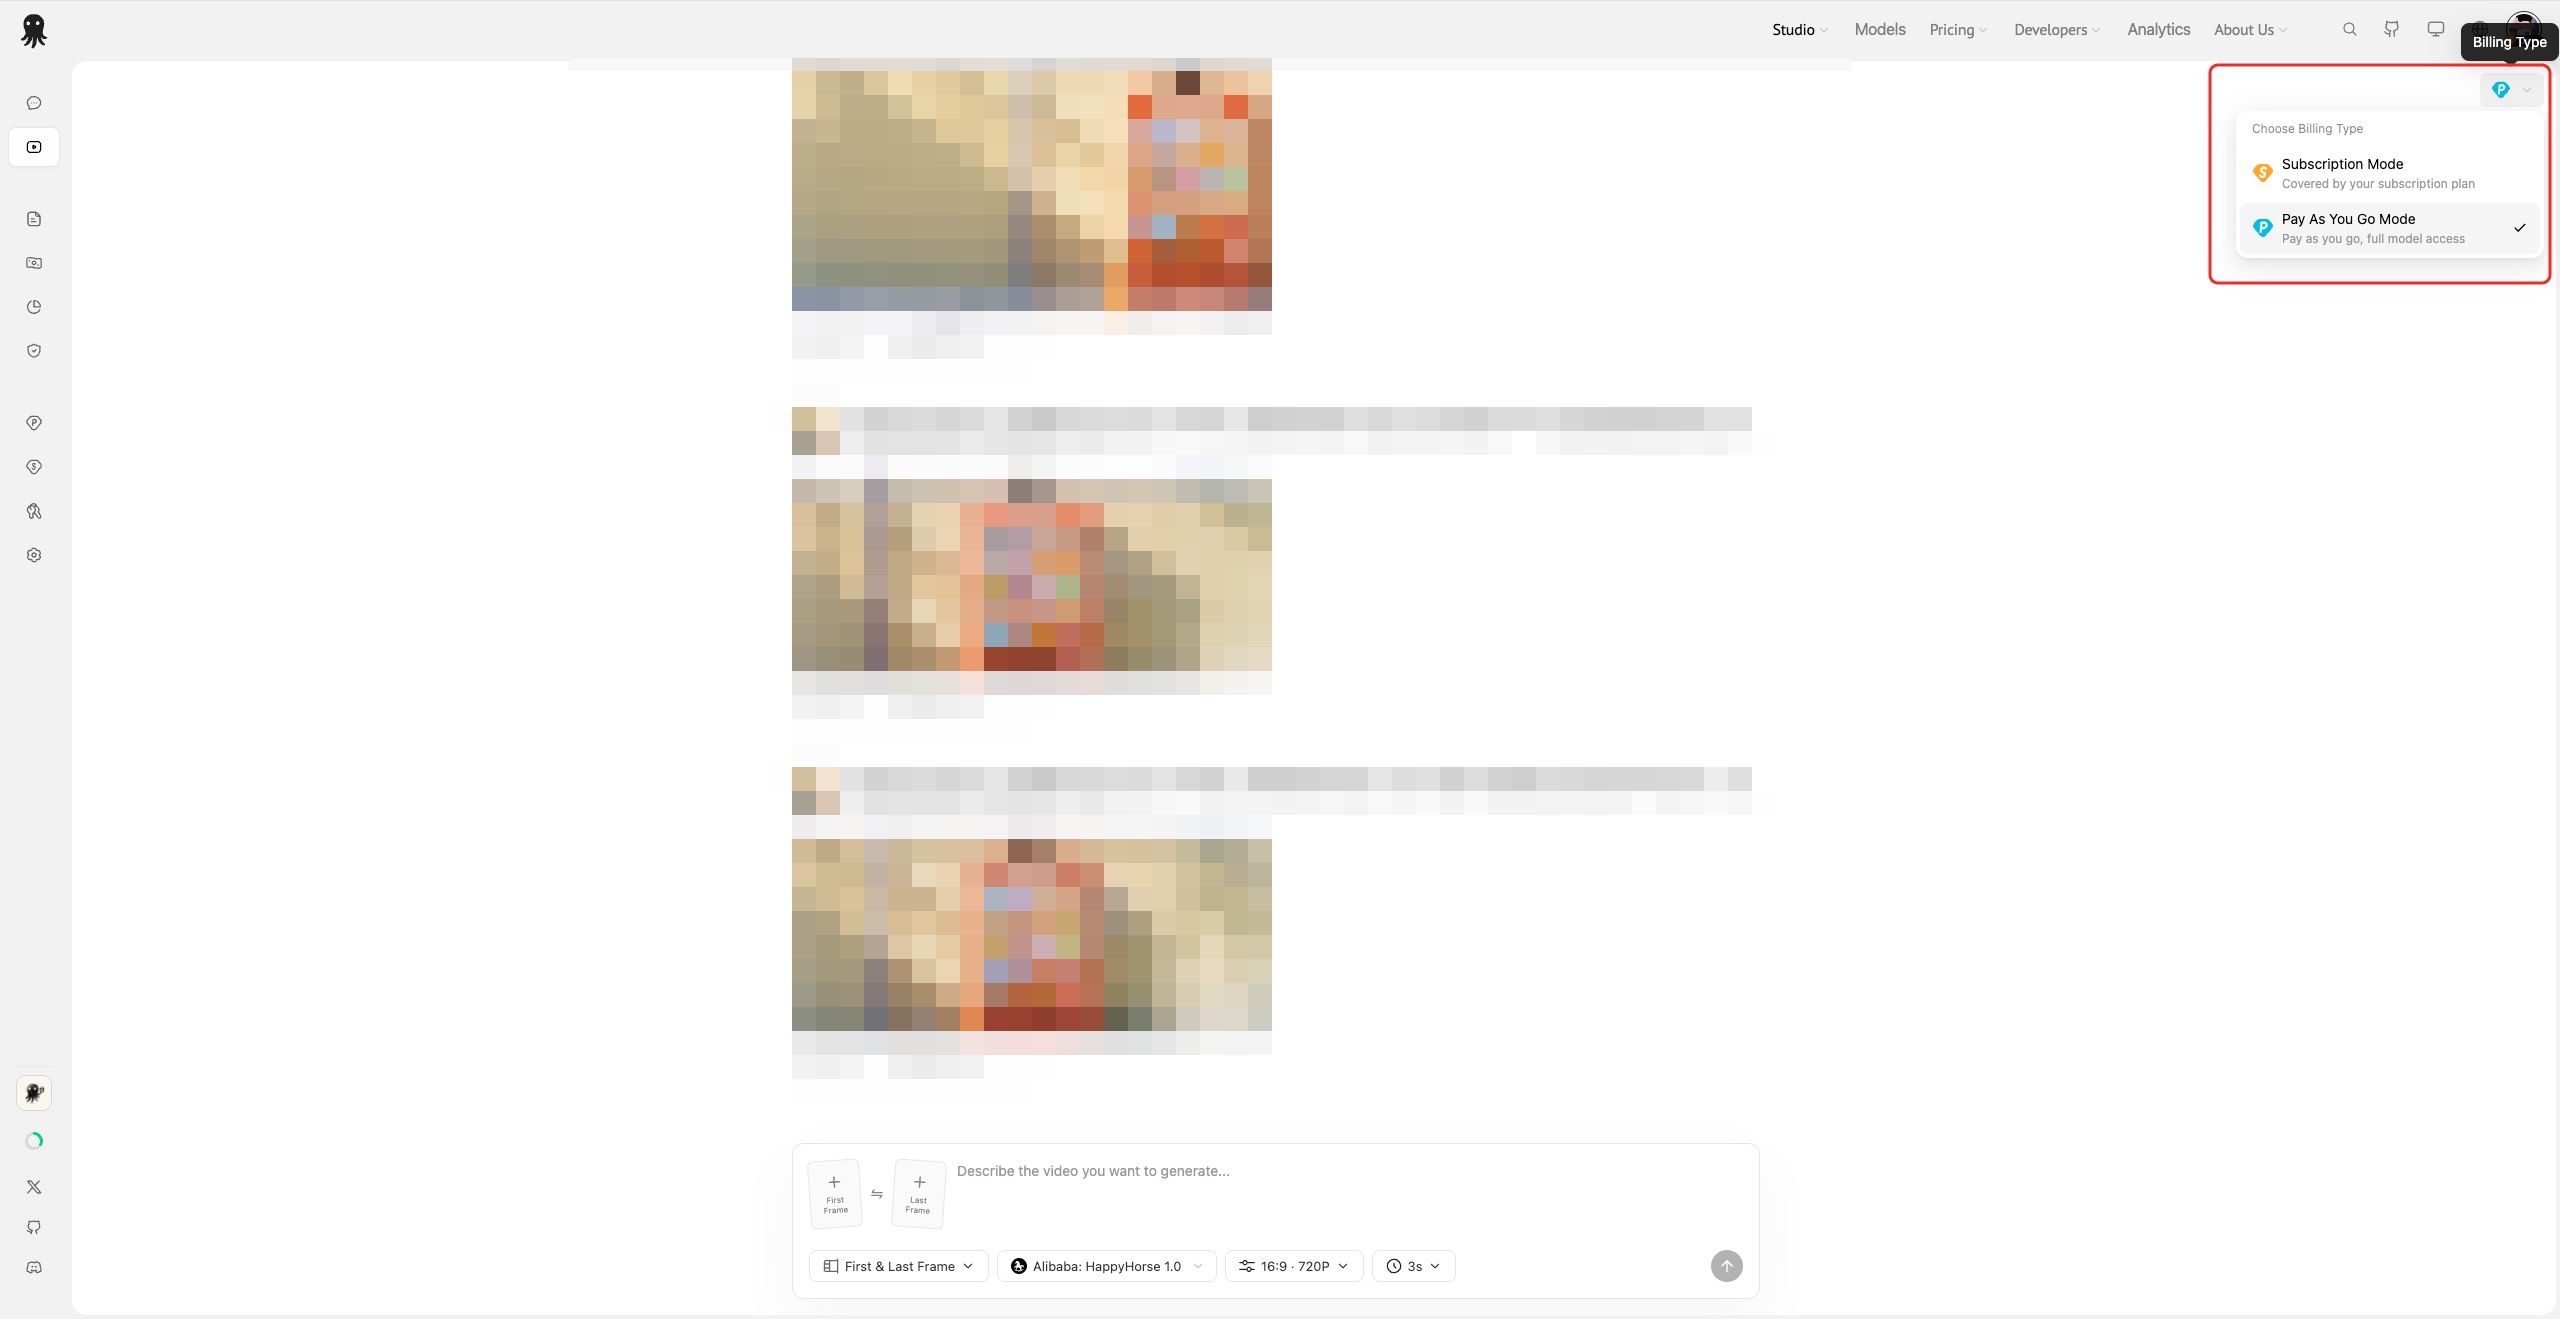
Before starting generation, confirm which billing mode you're using.
| Mode | Description |
|---|---|
| Subscription | Uses your subscription plan's model quota |
| Pay As You Go | Uses your account balance, billed per generation |
If the current model is not included in your subscription plan, subscription mode will be unavailable and you'll be prompted to switch to pay-as-you-go. When selecting a higher-tier model, the page will prompt you to upgrade your subscription. If your pay-as-you-go balance is insufficient, the page will prompt you to top up.
Selecting a Model
Click the model name in the input area toolbar to open the model selector.

The model selector filters for models that support video output and offers:
- Searching by model name
- Viewing model details, capabilities, and availability
- Distinguishing between free and premium models
- Determining model availability based on the current billing mode
The selected model determines which generation modes, aspect ratios, resolutions, durations, and audio options are available. After switching models, Studio-Video automatically refreshes these options.
Choosing a Generation Mode
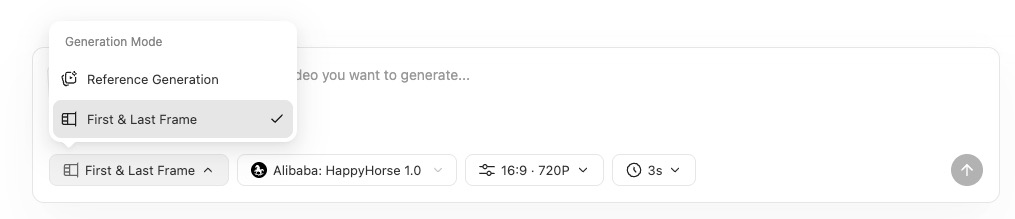
Studio-Video currently supports two generation modes:
| Mode | Use Case |
|---|---|
| Reference Image | Use one or more reference images to guide the model's video generation |
| First & Last Frame | Specify the opening and ending frames, letting the model fill in the transition |
If the current model does not support a particular mode, it will be grayed out.
In reference image mode, you can enter a prompt alone or upload reference images for greater visual control. Whether images are required depends on the current model's capabilities.
Uploading Assets
Reference Image Generation
After selecting Reference Image, the reference image upload entry appears on the left side of the input area.

- Multiple reference images can be uploaded; the maximum count depends on the current model
- Uploaded images are displayed as stacked thumbnails
- Hover to expand the image list, where you can add or remove images
- Images being uploaded show a progress indicator; failed uploads display an error state
Supported image formats:
| Type | Formats |
|---|---|
| Images | .jpg, .jpeg, .png, .gif, .webp |
First & Last Frame
After selecting First & Last Frame, the First Frame and Last Frame upload entries appear on the left side of the input area.